How to create and send emails in C#
Exchanging emails is still one of the most popular ways of sharing important information, documents, images and communicating with others as an individual, a group of people, or even as a company.
As a developer, you can streamline this process and save time by sending emails programmatically using C#. With the GemBox.Email component, you can easily create and send emails in different formats such as plain text or HTML. You can also work with signed (S/MIME) messages, making the processing of emails much more efficient.
In this article, we will cover the following topics for a complete guide on sending email messages using C#:
- Install and configure the GemBox.Email Library
- How to create and send simple text emails
- How to create HTML email messages
- How to create signed messages
Install and configure the GemBox.Email Library
For this tutorial, you will need to install GemBox.Email, so let's start by adding the NuGet Package to your project:
- Add the GemBox.Email component as a package using the following command from the NuGet Package Manager Console:
Install-Package GemBox.Email - After installing the GemBox.Email library, you must call the
ComponentInfo.SetLicensemethod before using any other member of the library.ComponentInfo.SetLicense("FREE-LIMITED-KEY");
In this tutorial, by using "FREE-LIMITED-KEY", you will be using GemBox's free mode. This mode allows you to use the library without purchasing a license, but with some limitations. If you purchased a license, replace "FREE-LIMITED-KEY" with your serial key.
You can check this page for a complete step-by-step guide to installing and setting up GemBox.Email in other ways.
How to create and send simple text emails
GemBox.Email represents an email with a MailMessage object. This class provides properties and methods for specifying or accessing the email's sender, recipient, subject, body, and more. You can use it to generate new or inspect existing email messages.
Follow the next steps to create a simple message with a subject and body and send it using the SMTP protocol.
- Create a new message using the
MailMessageobject.MailMessage message = new MailMessage( new MailAddress("sender@example.com", "Sender"), new MailAddress("first.receiver@example.com", "First receiver")); - Set the subject and text body.
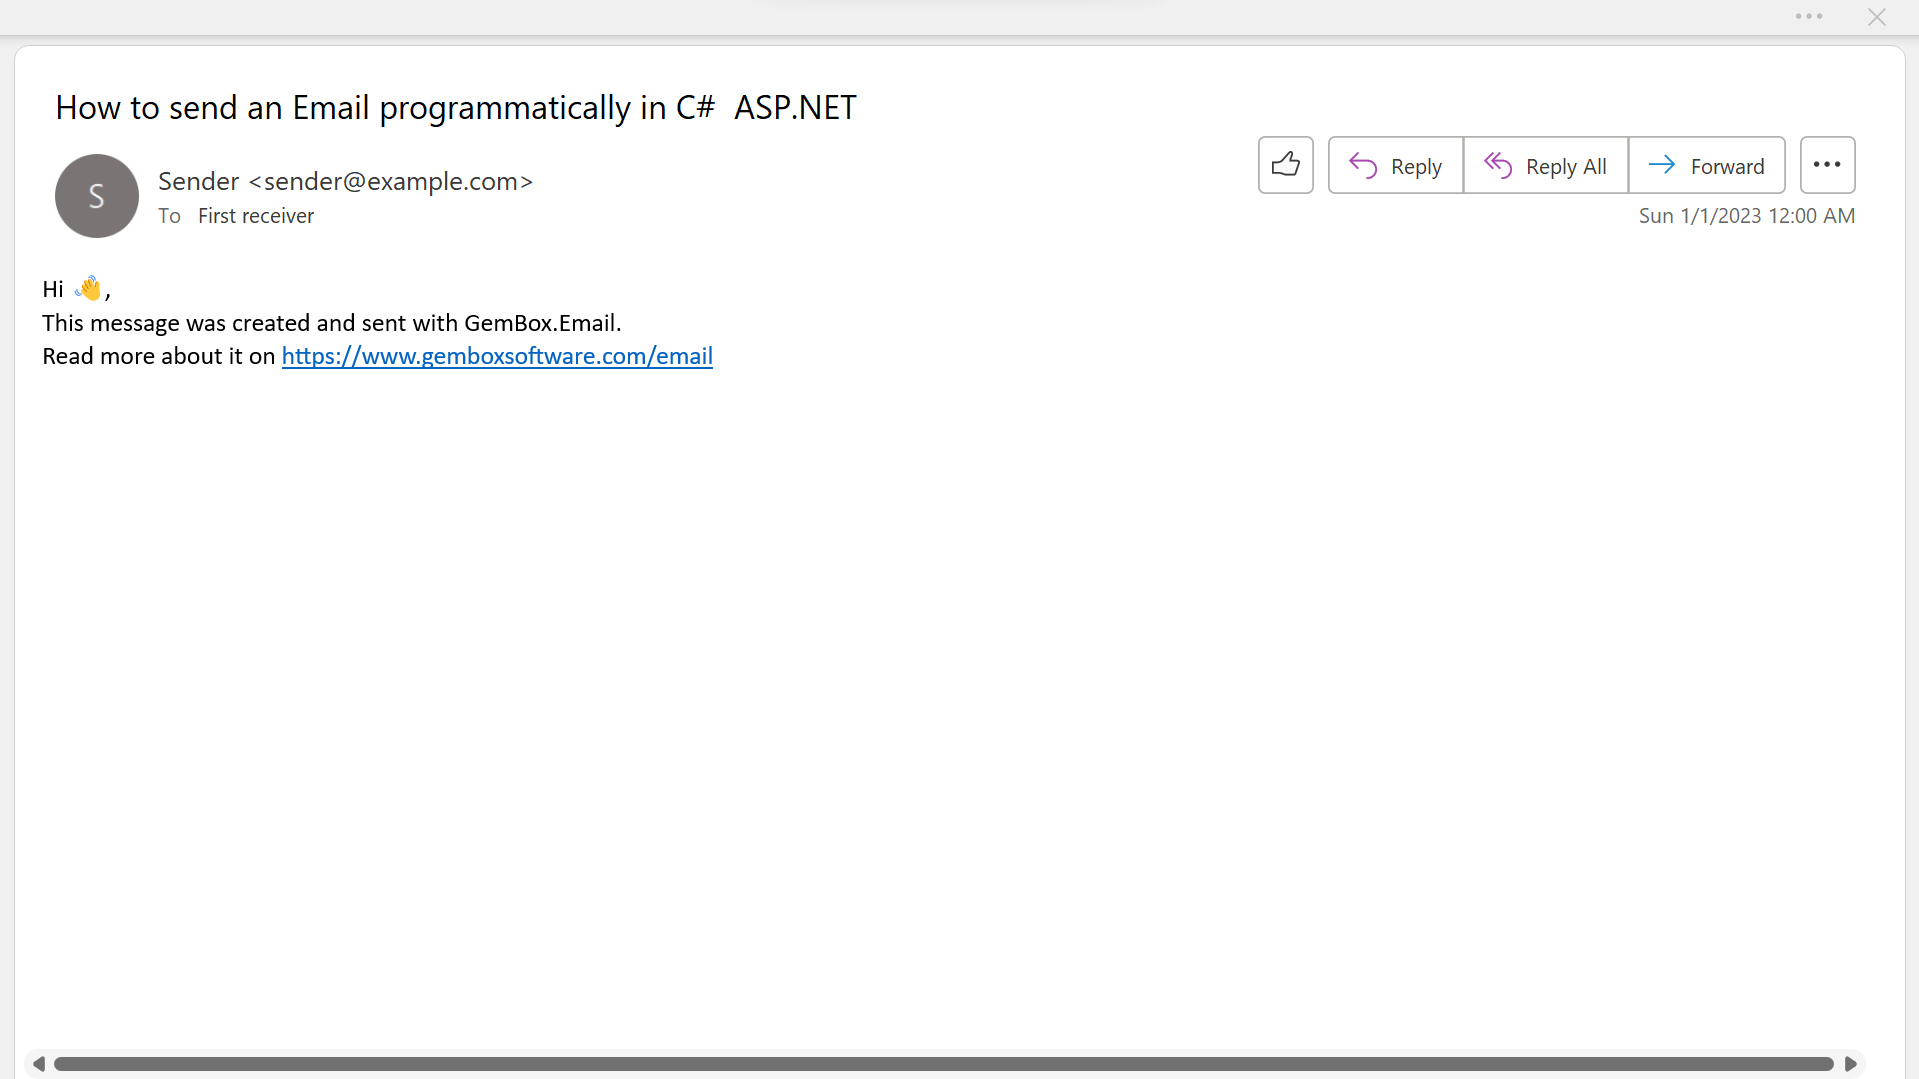
message.Subject = "How to send an Email programmatically in C# ASP.NET"; message.BodyText = "Hi 👋,\n" + "This message was created and sent with GemBox.Email.\n" + "Read more about it on https://www.gemboxsoftware.com/email"; - Create a new SMTP client, connect, authenticate, and send the email.
using (SmtpClient smtp = new SmtpClient("<ADDRESS> (e.g. smtp.gmail.com)")) { smtp.Connect(); smtp.Authenticate("<USERNAME>", "<PASSWORD>"); smtp.SendMessage(message); } - You can also save the message as an .EML or .MSG file to send it later or keep it as a backup.
message.Save("Email.eml");
After executing the code above, the email message will look like the following screenshot:
How to create and send HTML emails
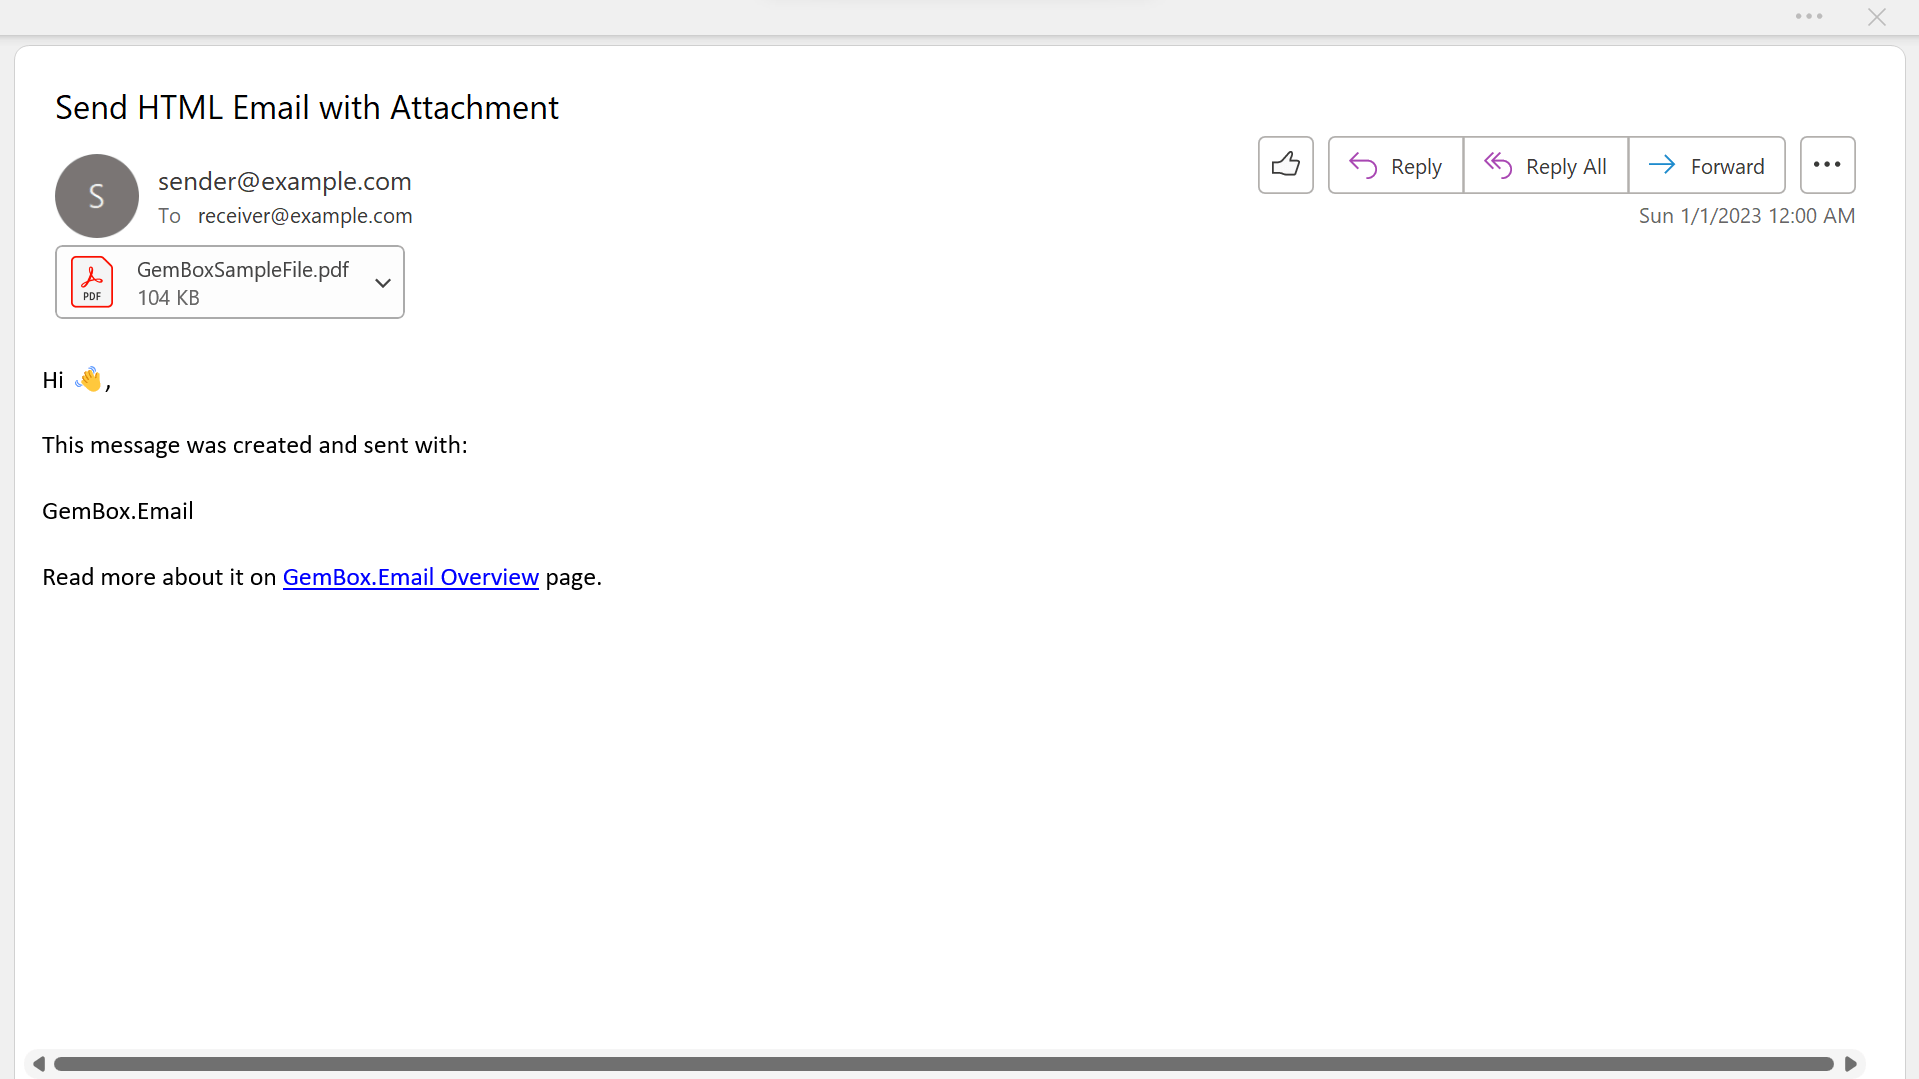
The following example shows how you can send an email with HTML body and a file attachment by using C#. You can also add a plain text body as an alternative for older email clients.
- Create a new email message.
MailMessage message = new MailMessage("sender@example.com", "receiver@example.com"); - Add the desired subject.
message.Subject = "Send HTML Email with Attachment"; - Add the HTML body.
message.BodyHtml = "<html><body>" + "<p>Hi 👋,</p>" + "<p>This message was created and sent with:</p>" + "<p>GemBox.Email</p>" + "<p>Read more about it on <a href='https://www.gemboxsoftware.com/email'>GemBox.Email Overview</a> page.</p>" + "</body></html>"; - Add a PDF file as an attachment.
message.Attachments.Add(new Attachment("GemBoxSampleFile.pdf")); - Create a new SMTP client and send an email message.
using (SmtpClient smtp = new SmtpClient("<ADDRESS> (e.g. smtp.gmail.com)"))
{
    smtp.Connect();
    smtp.Authenticate("<USERNAME>", "<PASSWORD>");
    smtp.SendMessage(message);
}
The MailMessage class allows for plain text and HTML text through the BodyText and BodyHtml properties, respectively. If both are specified, all major email clients will display the HTML version by default.
GemBox.Email does not validate the HTML in BodyHtml, so it's important to ensure proper markup. To include additional content or files, create an Attachment object and add it to the Attachments collection.
How to add an inline image to an HTML email
Also, instead of just adding your images as attachments, you can place them inside the HTML body. The steps below show how to achieve this and save the message as an Outlook file.
- Create a new email message.
MailMessage message = new MailMessage("sender@example.com", "receiver@example.com"); - Add a subject.
message.Subject = "Send HTML Email with Image and Attachment"; - Add the HTML body with a CID embedded image.
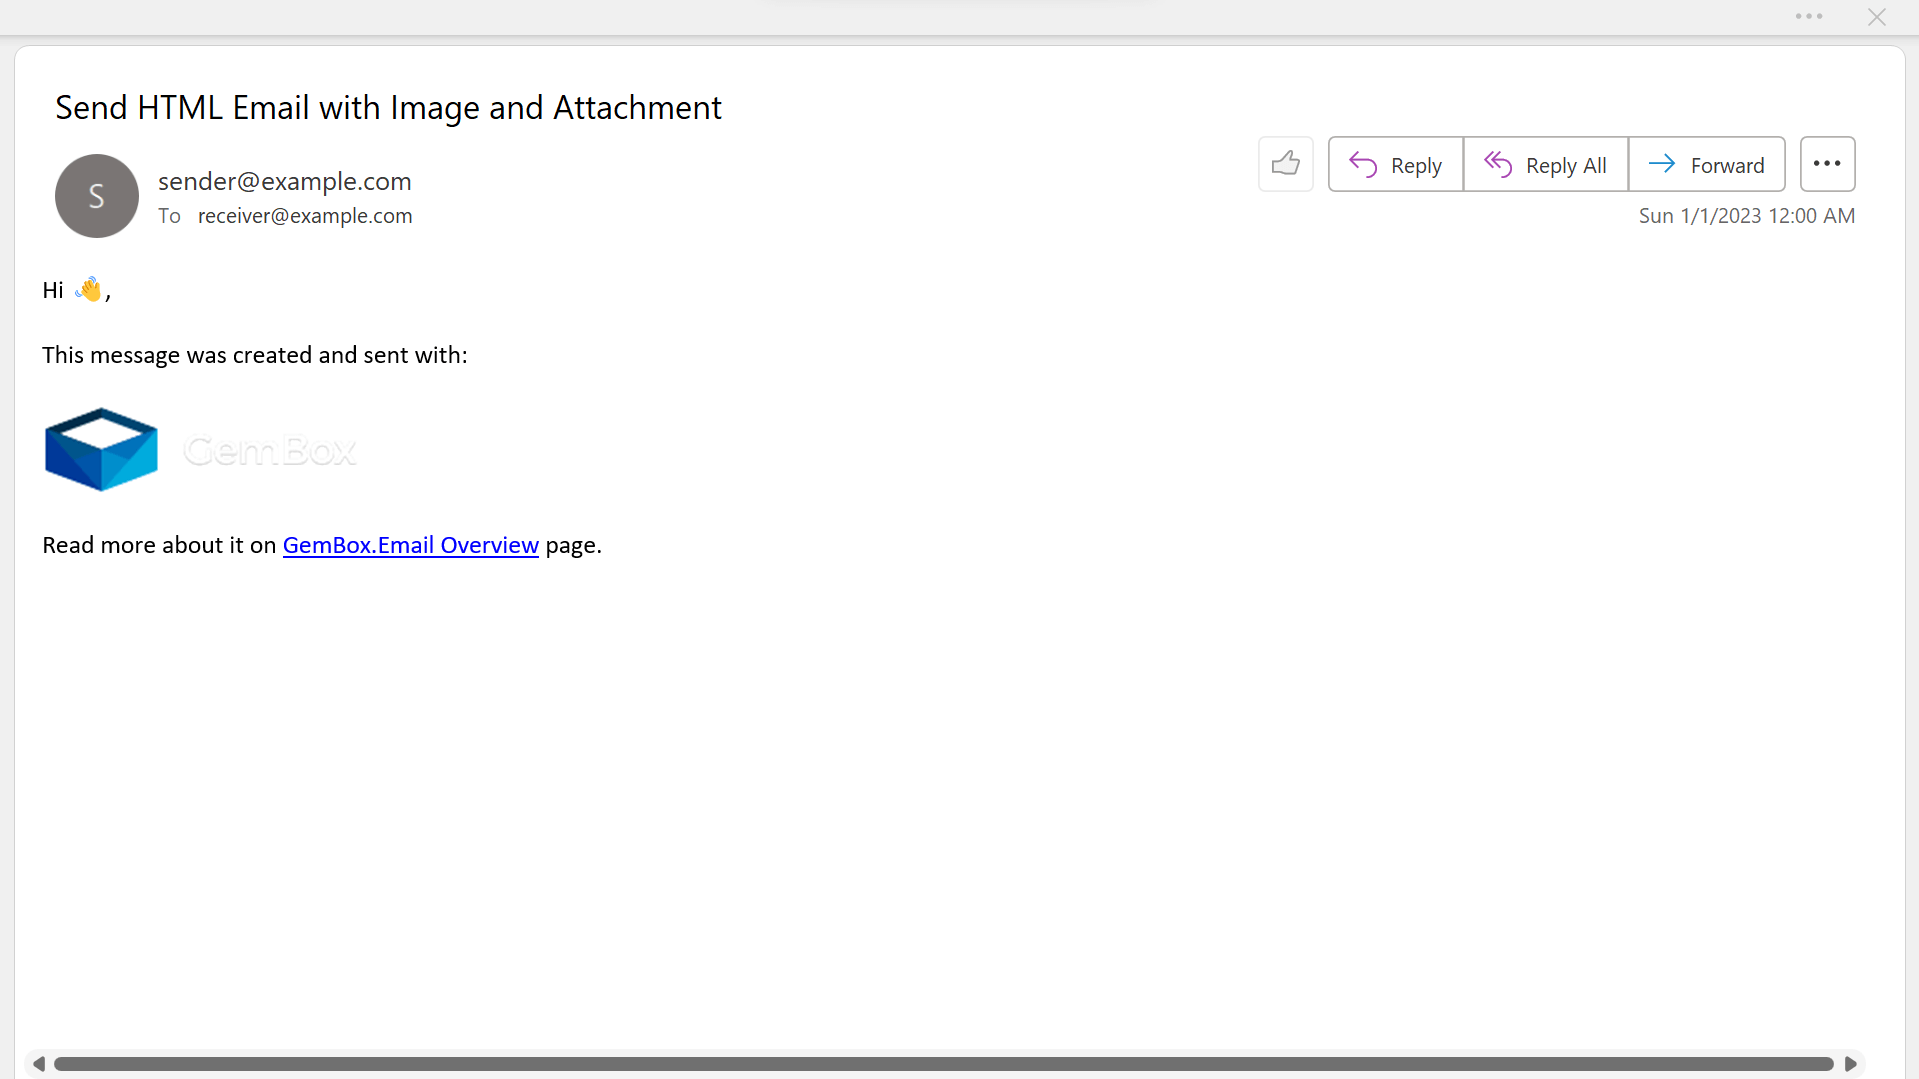
string cid = "image001@gembox.com"; message.BodyHtml = "<html><body>" + "<p>Hi 👋,</p>" + "<p>This message was created and sent with:</p>" + "<p><img src='cid:" + cid + "'/></p>" + "<p>Read more about it on <a href='https://www.gemboxsoftware.com/email'>GemBox.Email Overview</a> page.</p>" + "</body></html>"; - Add the image as an inline attachment.
message.Attachments.Add(new Attachment("GemBoxEmailLogo.png") { ContentId = cid }); - Save the message as an MSG file.
message.Save("Email.msg");
After executing the code above, your email message will look like the following screenshot:
To summarize, you can send an HTML message with images using one of the following options:
- Create an image with a source that is linked to an external image file, e.g., img src="https://www.example.com/image.png".
- Create an image with a source that contains data URI, an image data embedded directly into HTML, e.g., img src="data:image/png;base64,AABBCCDD..."
- Create an image with a source that contains content ID (CID) and add the image as an inline attachment with the same CID, as shown in the above example.
How to create S/MIME messages
GemBox.Email allows you to create signed messages both from a pre-existing message loaded with the API or from a new message created at runtime.
A signed email works just like a normal email, with the difference of having a digital signature attached to it for additional security. The sender uses their private key to create a digital signature, which is verified by the recipient using the sender's public key.
Signing an email message with a certificate is a way to ensure that the message was not altered since it was written and that it exclusively belongs to a specified person or organization.
GemBox.Email supports both clear-signed and opaque-signed messages. Clear-signed messages are internally composed of the email data and the signature. In contrast, opaque-signed messages are internally composed of only one item containing both email data and signature merged and encoded in binary format.
The guide below explains how to create a new message and sign it using the MailMessage.Sign method.
- Create a new message, defining sender, receiver, subject, and body.
MailMessage message = new MailMessage("sender@example.com", "receiver@example.com"); message.Subject = "Signed message example!"; message.BodyText = "Hi! This is a signed message."; - To sign the message, you need to create a new instance of DigitalSignatureOptions setting the certificate path, the certificate password, and if the message is to be clear-signed or not.
DigitalSignatureOptions signatureOptions = new DigitalSignatureOptions { CertificatePath = "GemBoxRSA4096.pfx", CertificatePassword = "GemBoxPassword", ClearSigned = true }; - Call the MailMessage.Sign passing the instance of
DigitalSignatureOptions. Note that signing a message will modify it and make it read-only, so callingMailMessage.Signon an already signed message will throw anInvalidOperationException.message.Sign(signatureOptions); - Finally, save the signed message to a file.
message.Save("SignedEmail.eml");
If you open the message in Outlook, it will show a red ribbon in the top-right corner signaling that this is a signed message. You can also click on that ribbon and navigate into: “Details > Double click on the “signer info” line > Certificate” to see details about the signature and about the certificate used on that signature.
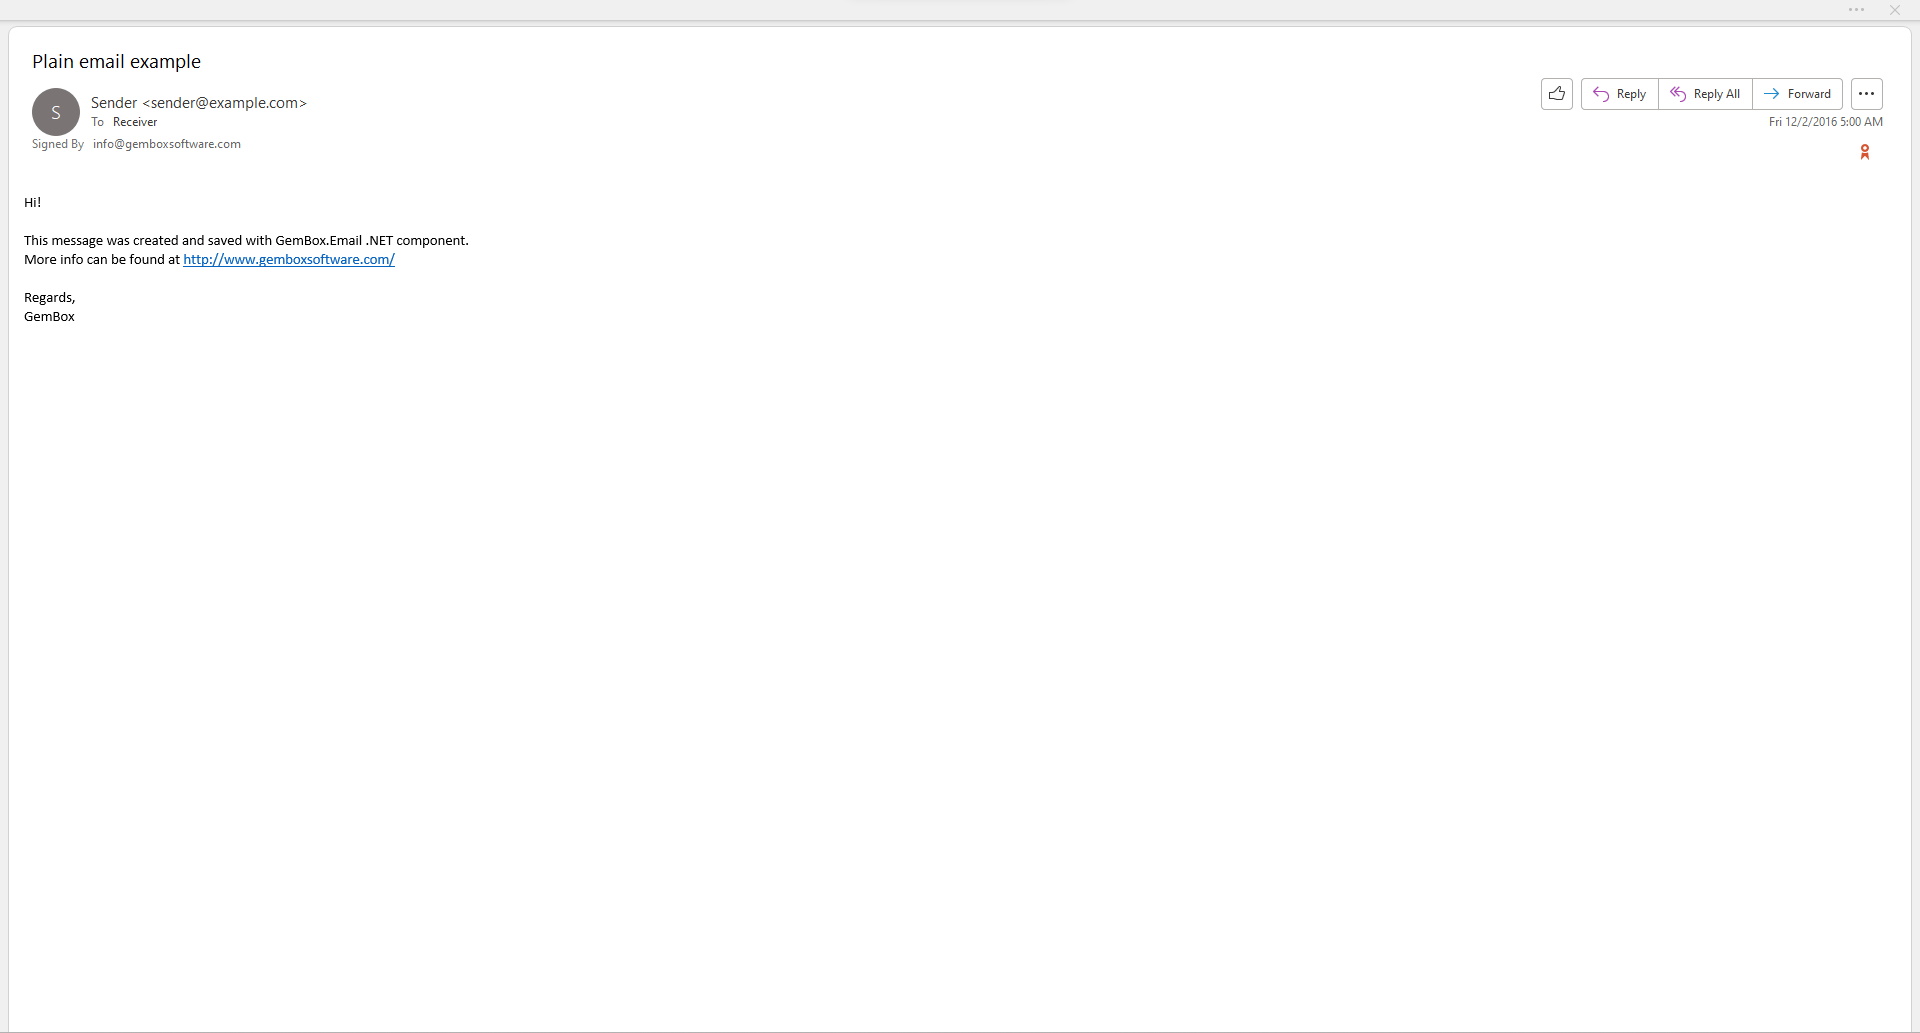
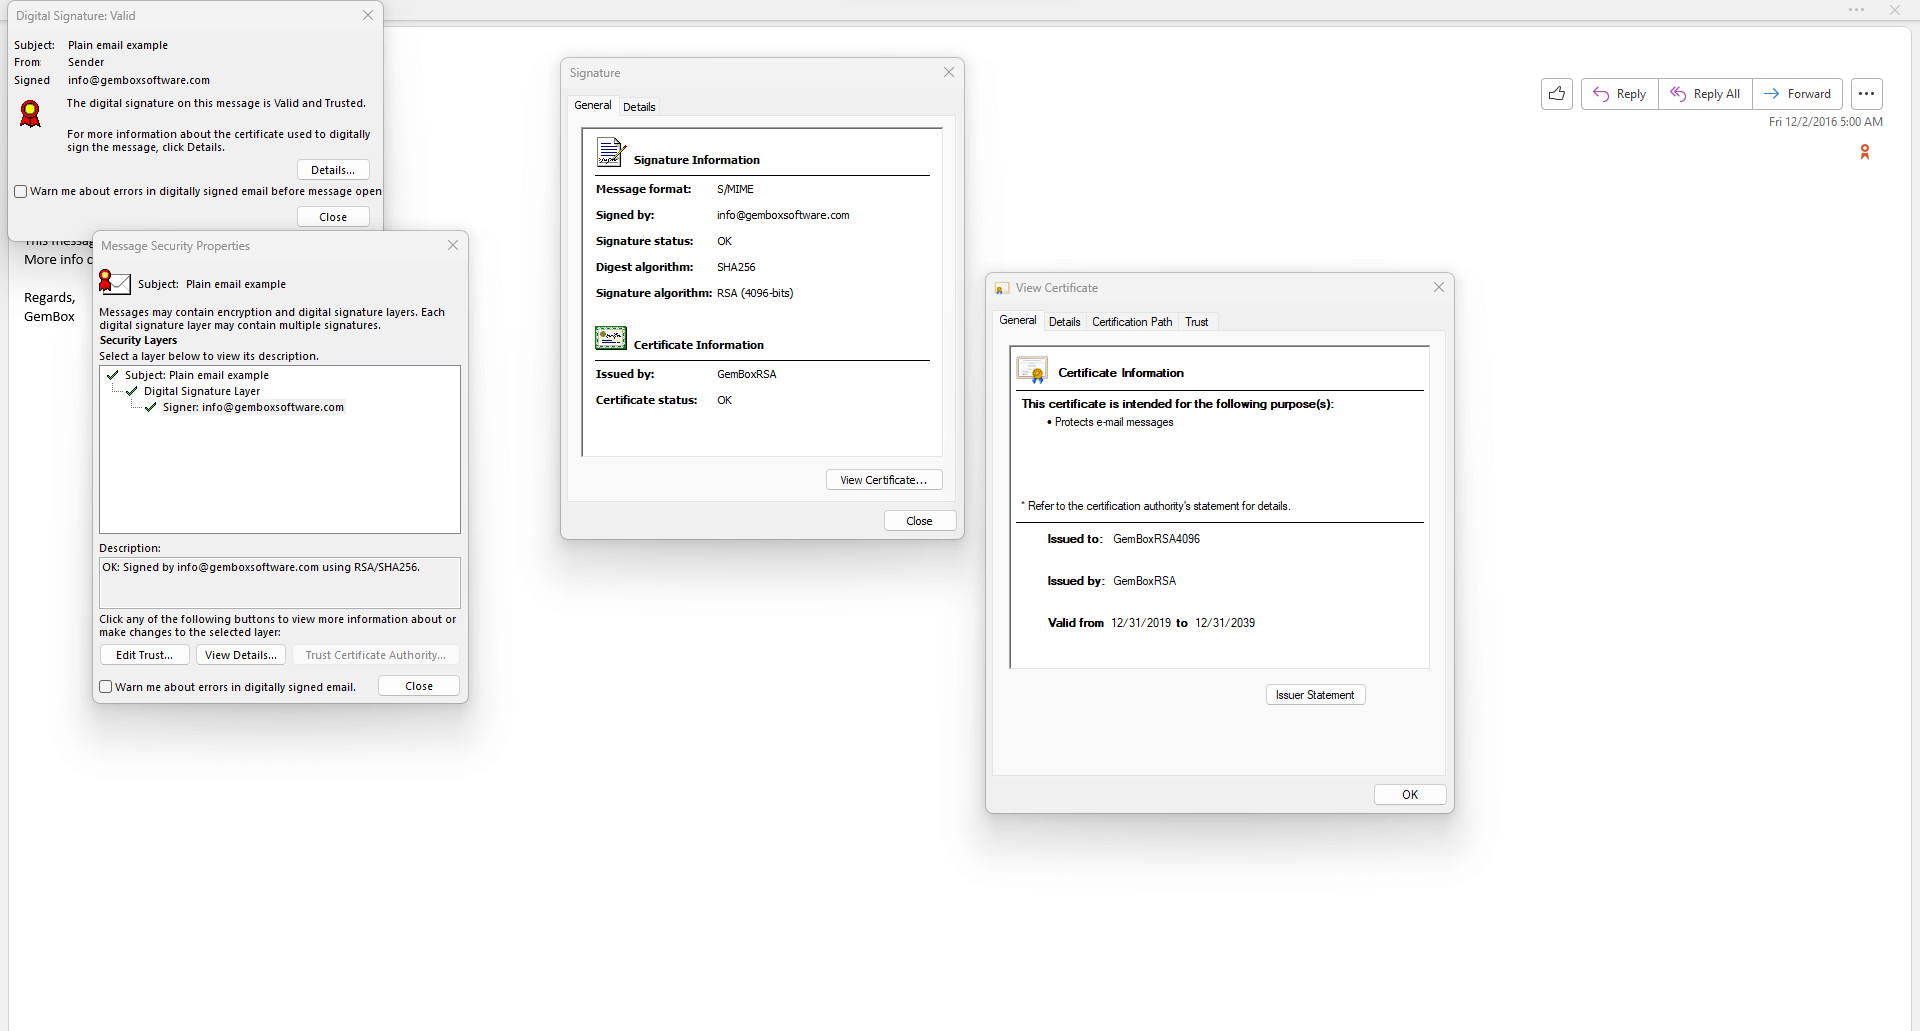
Note that it is possible for Outlook to show the email created in this example as invalid or as not trusted. That is because the certificate we used is a self-signed certificate. It wasn't obtained from any trusted authority.
How to unsign a S/MIME email message in C#
If you want to remove the signature or enable changing the content of a signed MailMessage, it is necessary to call MailMessage.Unsign. It will remove the message's signature and make it writable, exposing the content as a "normal" message. If required, the message can be re-signed again.
As with signed messages, if you call MailMessage.Unsign on an unsigned message, an InvalidOperationException is thrown.
You can use the following code to unsign a message:
// Load message from email file normally.
MailMessage message = MailMessage.Load("SignedEmail.eml");

// Unsigning an unsigned message would throw an exception
if (message.IsSigned)
{
message.Unsign();

// Save the unsigned message.
message.Save("Unsigned.eml");
}
How to validate S/MIME messages
With GemBox.Email you can also validate signed (S/MIME) messages. The validation works for both clear-signed and opaque-signed messages.
After loading or creating a signed message, the MailMessage.ValidateSignature method can be used to verify that the signature is valid. For it to be a true value, three conditions must be met:
MailMessage.IsSignedmust be true.- The date when the signature was generated must be considered valid. The certificate used to sign a message is valid from a specific date and time until another specific date and time, so the signature must have been generated within this range.
- The message's content must precisely match the content used to generate the signature.
It's important to note that each email engine or application has different rules for determining a valid signature and that those rules will not affect this method. For example, Outlook on Windows may warn about signatures created by untrusted authorities, such as the certificate used in this article, which was created by GemBox to be used only as an example.
You can use the following code to validate your signed message:
// Load message from email file normally.
MailMessage message = MailMessage.Load("SignedEmail.eml");

// Check if the signature is valid
Console.WriteLine($"Is valid: {message.ValidateSignature()}");
Conclusion
In this article, you saw some of the ways you can use GemBox.Email for creating, loading, signing, unsigning, validating, and sending various types of email messages programmatically in .NET.
For more information regarding the GemBox.Email API and check the documentation pages. We also recommend checking our GemBox.Email examples to examine other features and even run the example code.
